Docker for Datascience
For a data scientist, running a container that is already equipped with the libraries and tools needed for a particular analysis eliminates the need to spend hours debugging packages across different environments or configuring custom environments.
But why Set Up a Data Science Environment in a Container?
- One reason is speed. Docker containers allow a Jupyter or RStudio session to launch in minutes, not hours.
- Containerization benefits both data science and IT/technical operations teams.
- Containers solve a lot of common problems associated with doing data science work at the enterprise level. They take the pressure off of IT to produce custom environments for every analysis, standardize how data scientists work, and ensure that old code doesn’t stop running because of environment changes.
- Configuring a data science environment can be a pain. Dealing with inconsistent package versions, having to dive through obscure error messages, and having to wait hours for packages to compile can be frustrating. This makes it hard to get started with data science in the first place, and is a completely arbitrary barrier to entry.
Thanks to the rich ecosystem, there are already several readily available images for the common components in data science pipelines. Here are some Docker images to help you quickly spin up your own data science pipeline:
Motivation: Say you want to play around with some cool data science libraries in Python or R but what you don’t want to do is spend hours on installing Python or R, working out what libraries you need, installing each and every one and then messing around with the tedium of getting things to work just right on your version of Linux/Windows/OSX/OS9 — well this is where Docker comes to the rescue! With Docker we can get a Jupyter ‘Data Science’ notebook stack up and running in no time at all. Let’s get started! We will see few examples of these in the following sections…
1. Launch a Jupyter notebook conatiner
Docker allows us to run a ‘ready to go’ Jupyter data science stack in what’s known as a container:
$ docker run --rm -p 8888:8888 jupyter/minimal-notebook
Once you’ve done that you should be greeted by your very own containerised Jupyter service!
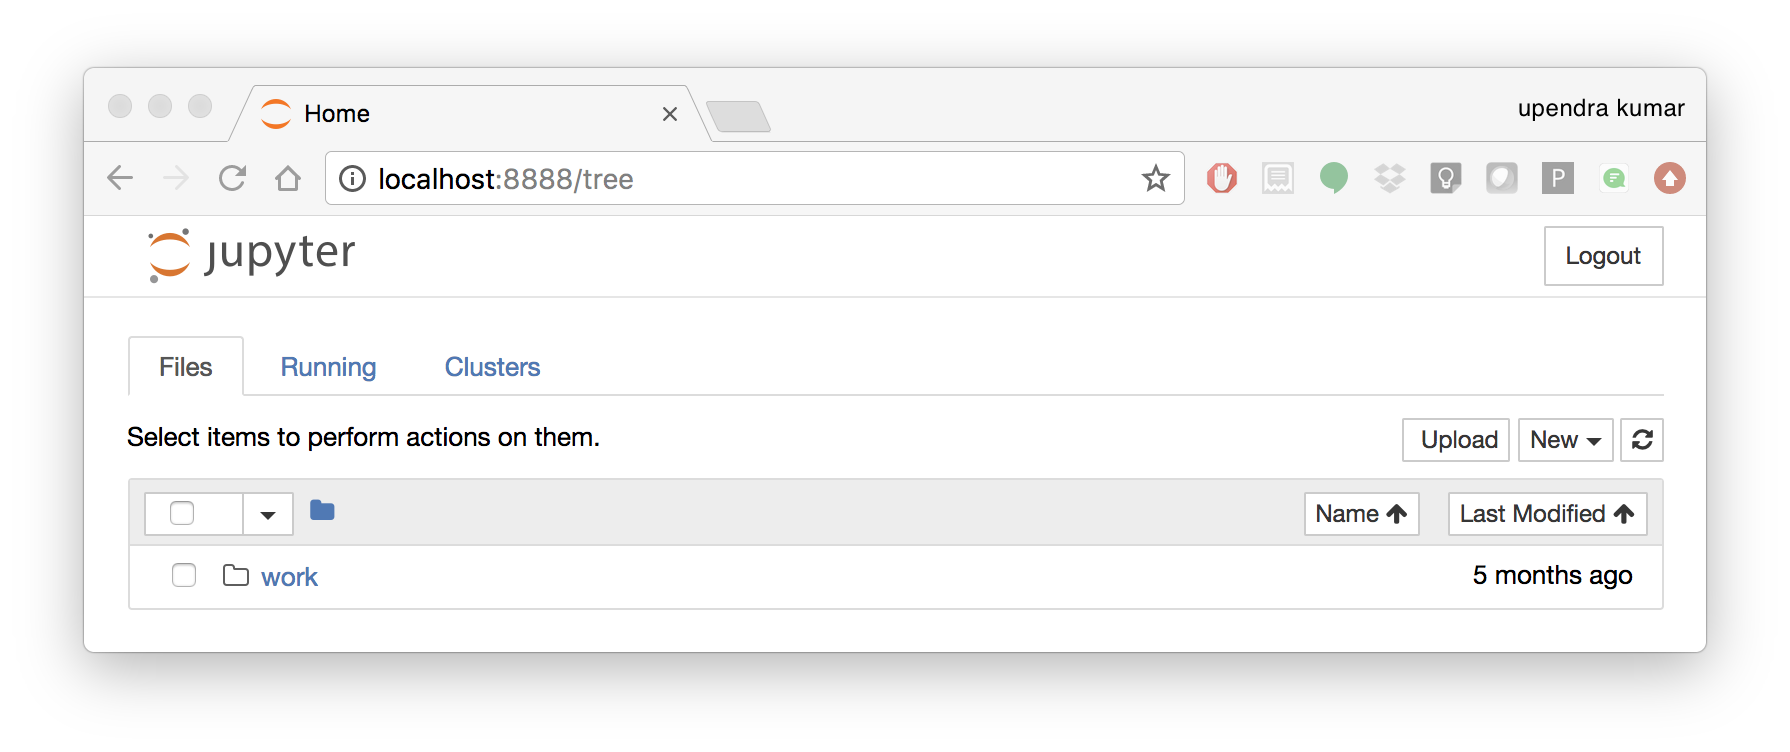
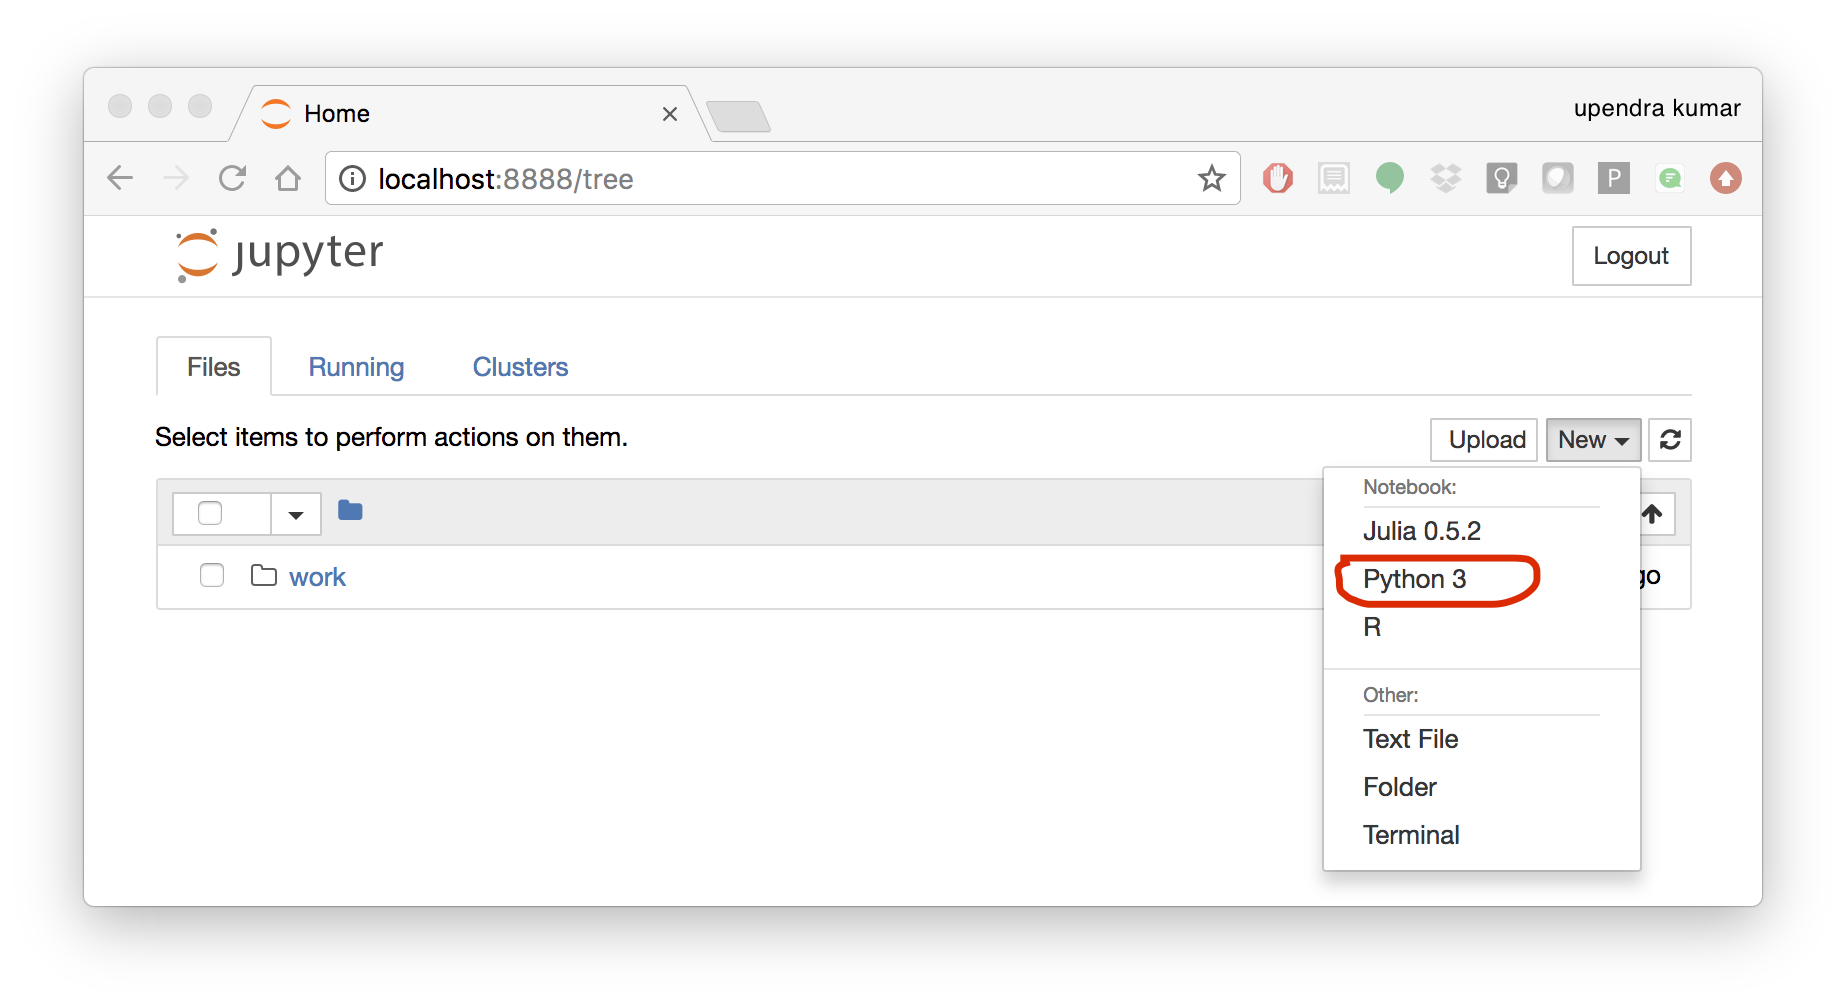
To create your first notebook, drill into the work directory and then click on the ‘New’ button on the right hand side and choose ‘Python 3’ to create a new Python 3 based Notebook.
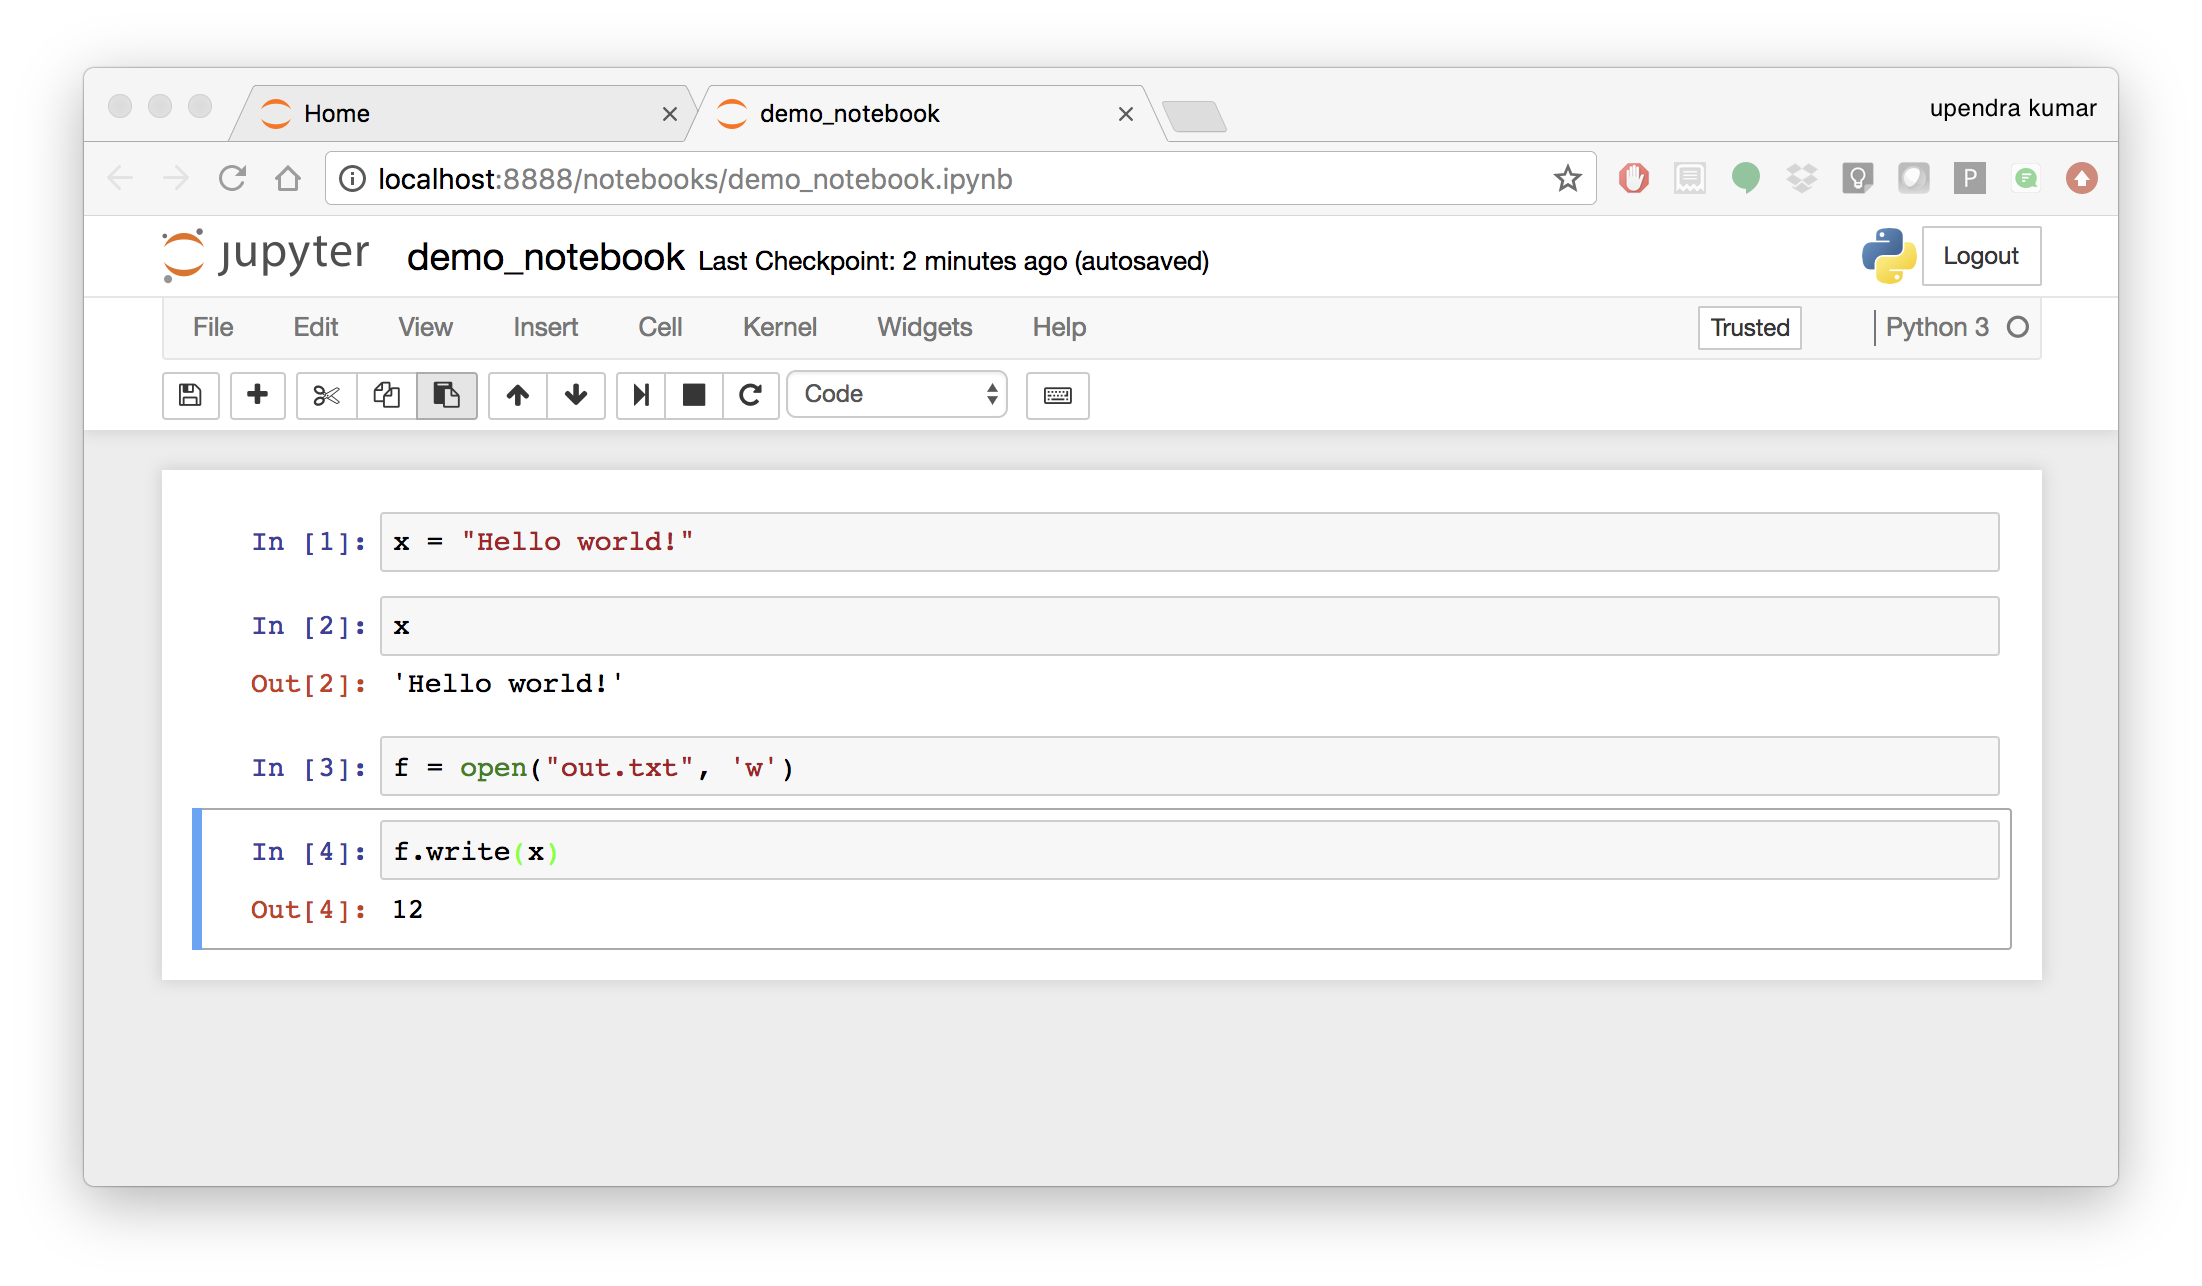
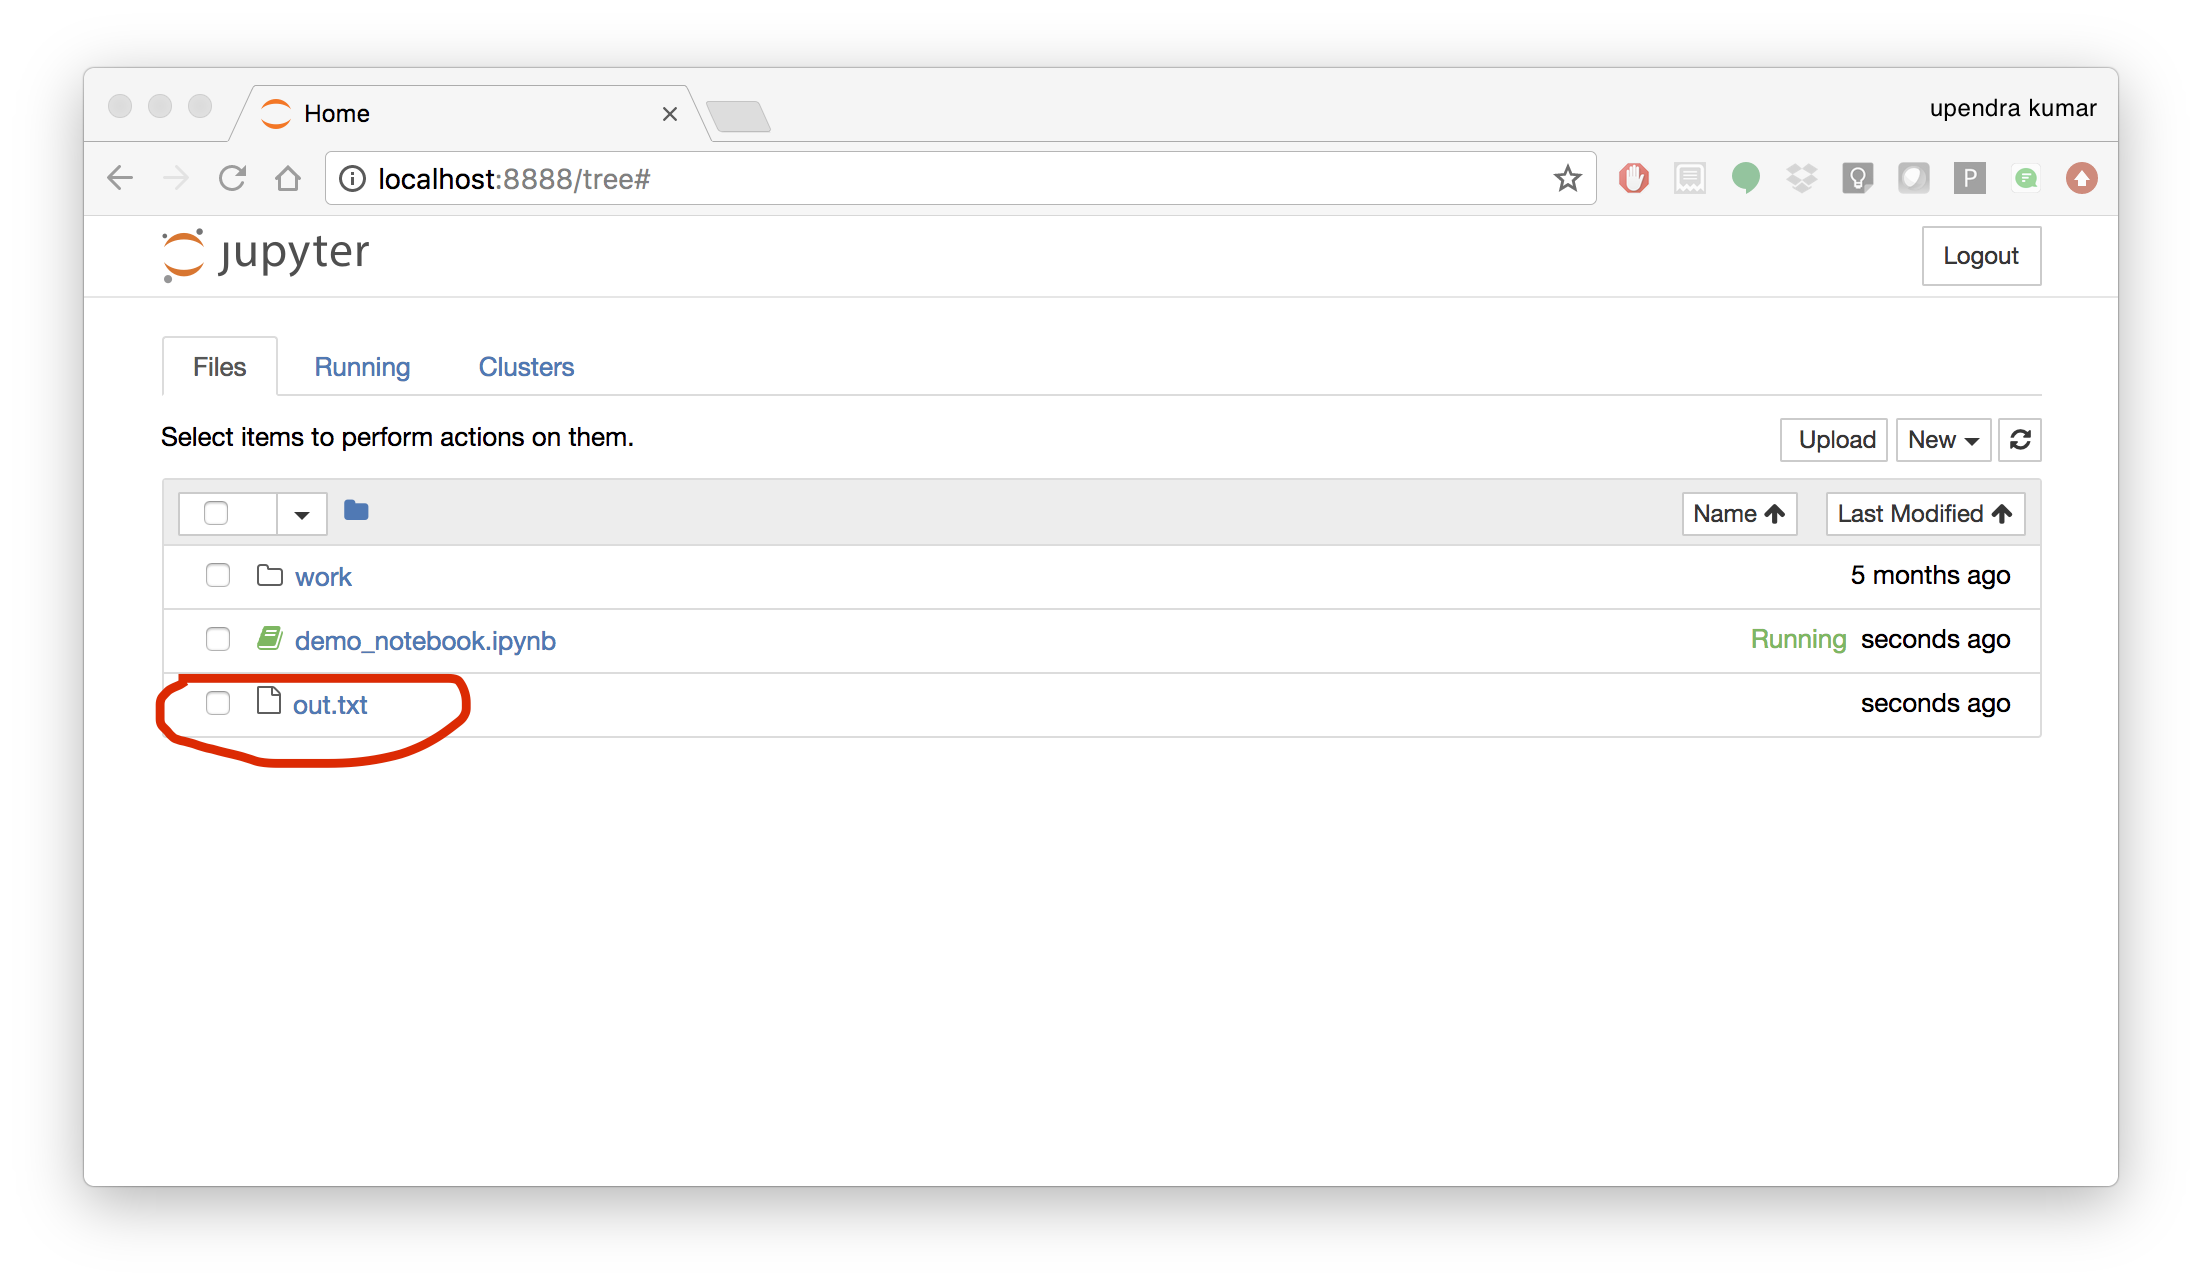
Now you can write your python code. Here is an example
To mount the host directory inside the Jupyter notebook container, you must first grant the within-container notebook user or group (NB_UID or NB_GID) write access to the host directory
sudo chown 1000 <host directory>
you can run the command as below
$ docker run --rm -p 8888:8888 -v $PWD:/work -w /home/jovyan/work jupyter/minimal-notebook
Tip
If you want to run Jupyter-lab instead of the default Jupyter notebook, you can do so by adding jupyter-lab at the end of the command.
More options for Datascience jupyter notebook - https://github.com/Paperspace/jupyter-docker-stacks/tree/master/datascience-notebook
To shut down the container once you’re done working, simply hit Ctrl-C in the terminal/command prompt. Your work will all be saved on your actual machine in the path we set in our Docker compose file. And there you have it — a quick and easy way to start using Jupyter notebooks with the magic of Docker.
2. Launch a RStudio container
Next, we will see a Docker image from Rocker which will allow us to run RStudio inside the container and has many useful R packages already installed.
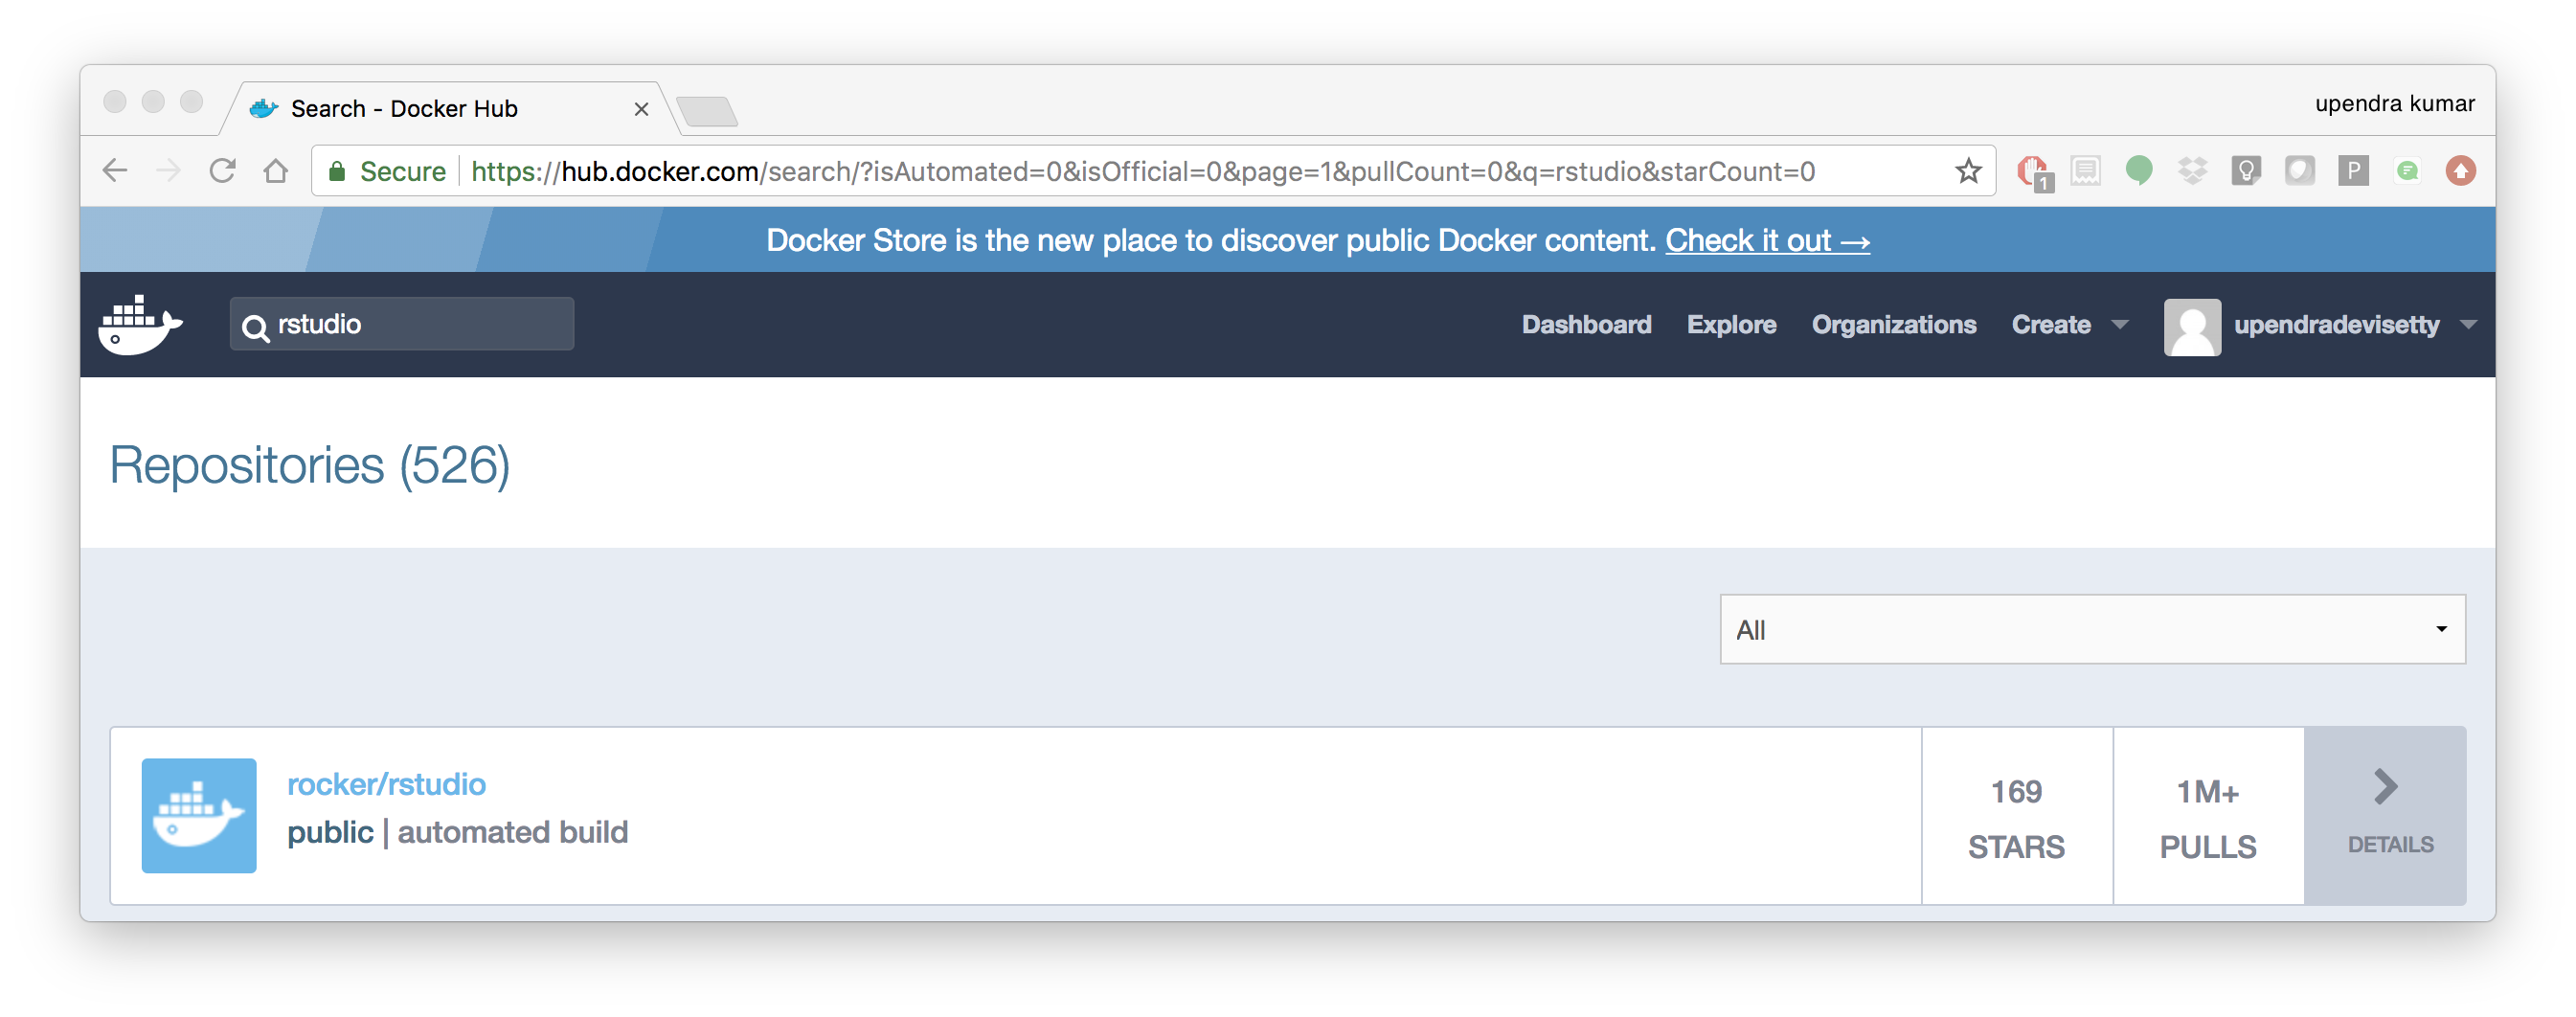
$ docker run --rm -d -e PASSWORD=rstudio1 -p 8787:8787 rocker/rstudio:3.5.2
The command above will lead RStudio-Server to launch invisibly. To connect to it, open a browser and enter http://localhost:8787, or <ipaddress>:8787 on cloud.
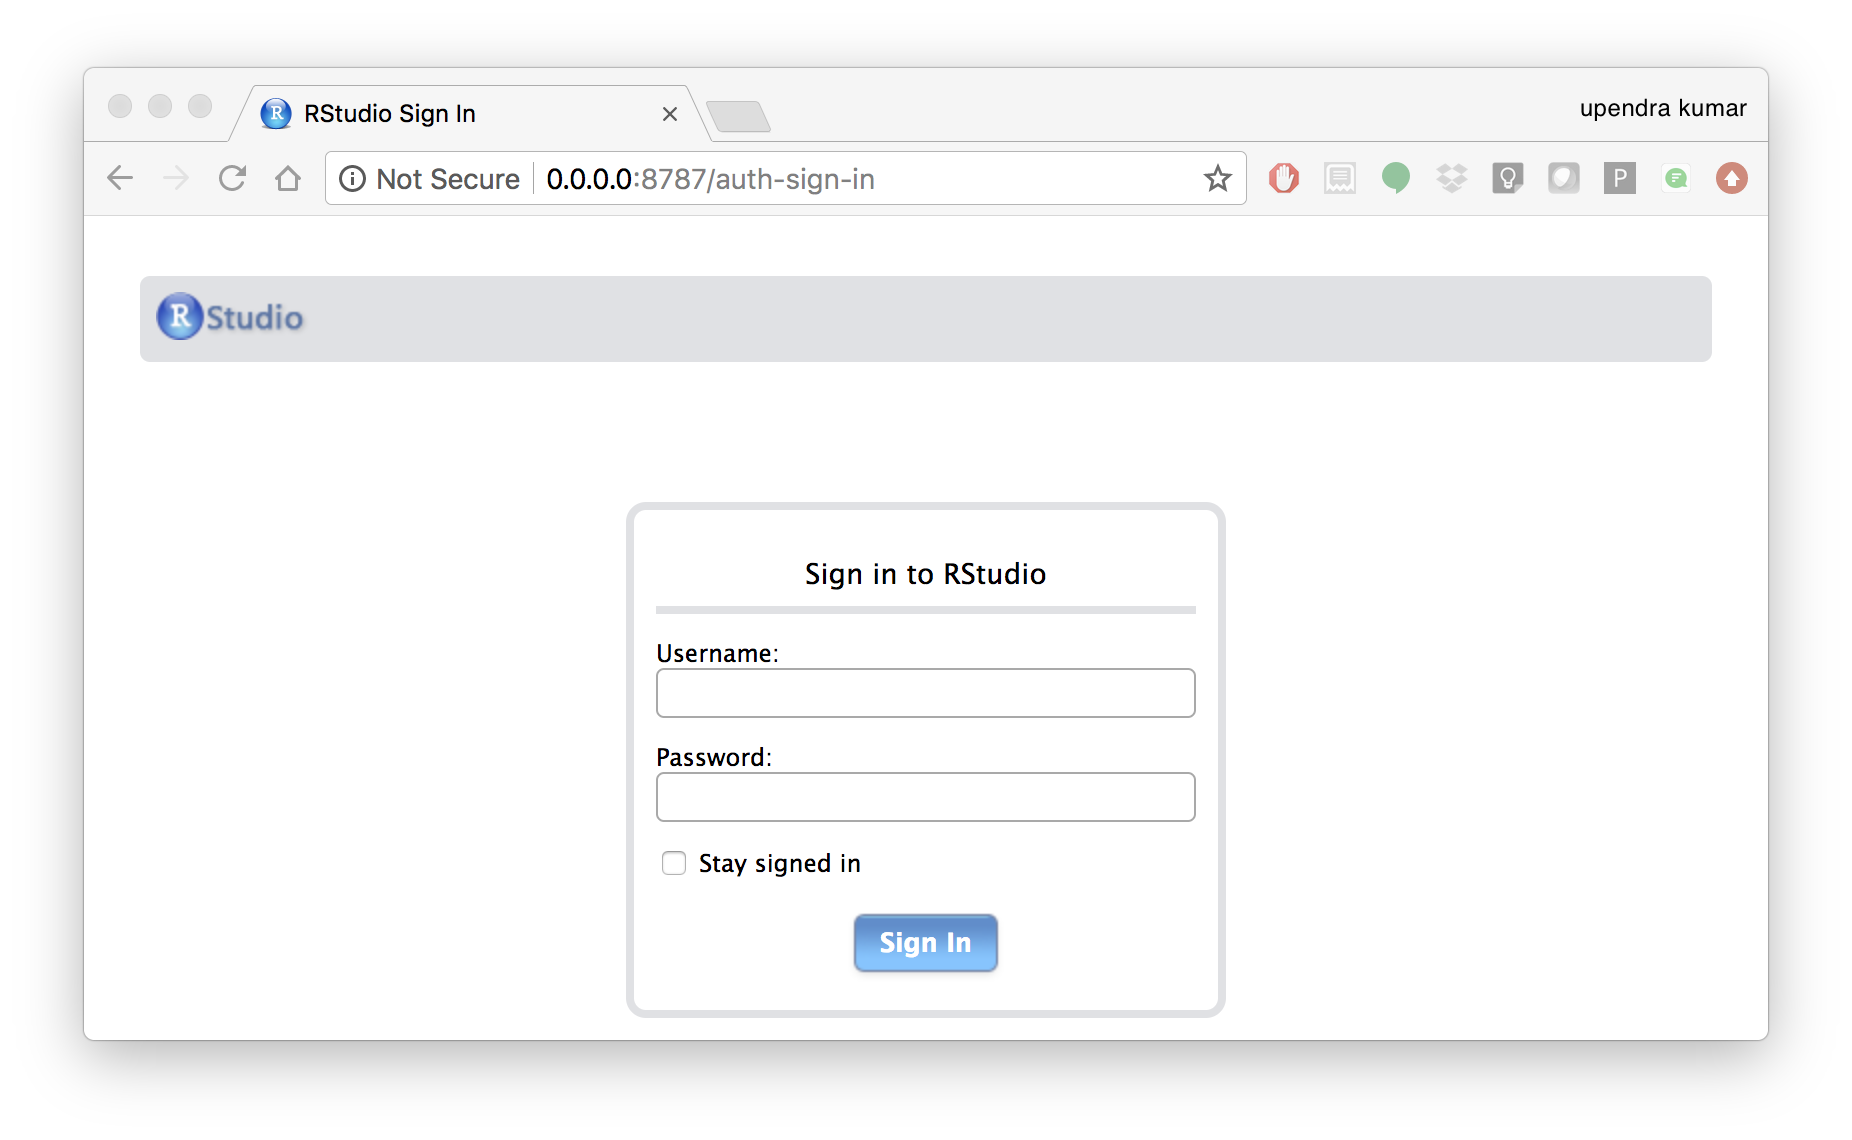
Tip
For the current Rstudio container, the default username is rstudio and the password is rstudio1. However you can override the disable the log-in with -e DISABLE_AUTH=true in place of -e PASSWORD=rstudio1.
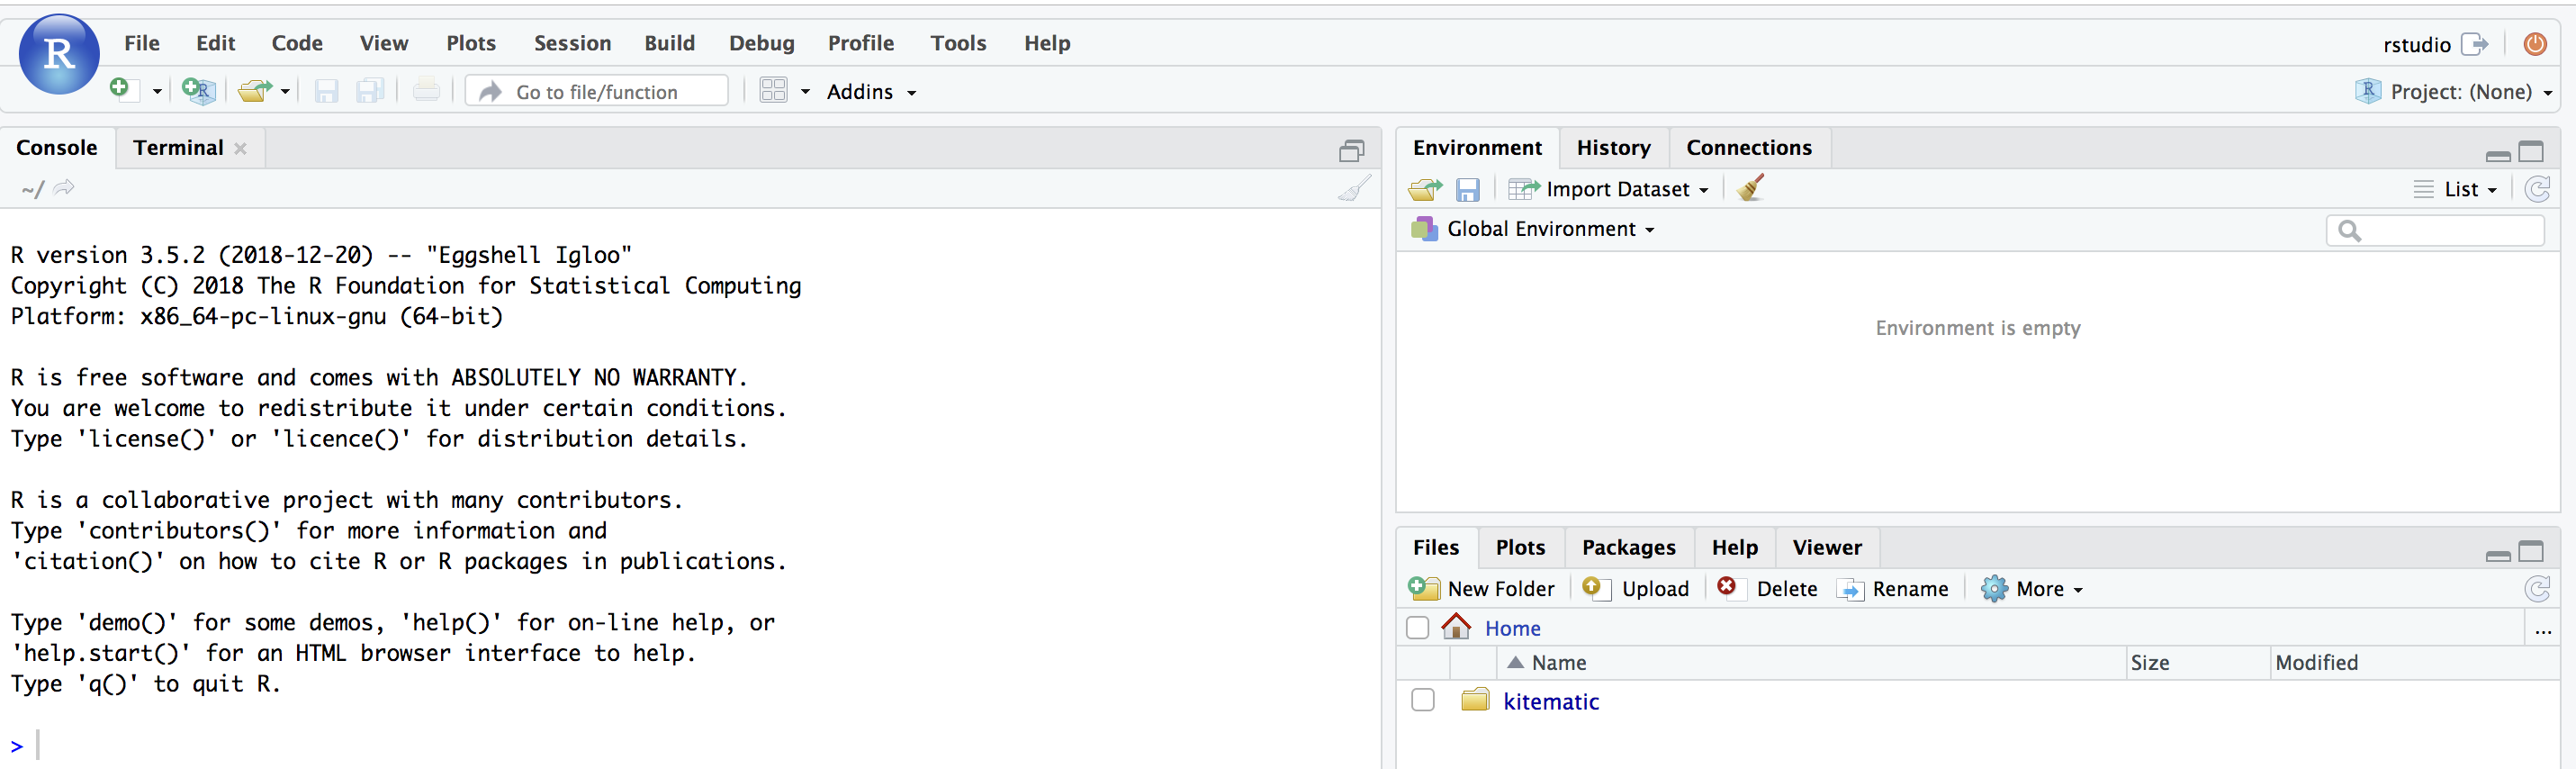
If you want to mount the host directory inside the Rstudio container, you can do as below
$ docker run -v $PWD:/data -w /data -p 8787:8787 -e DISABLE_AUTH=true --rm rocker/rstudio:3.5.2
And navigate to the /data inside the container using the file browser option in Rstudio.
An excellent R tutorial for reproducible research can be found here
3. Machine learning using Docker
In this simple example we’ll take a sample dataset of fruits metrics (like size, weight, texture) labelled apples and oranges. Then we can predict the fruit given a new set of fruit metrics using scikit-learn’s decision tree
You can find the above code in this github repo
- Create a directory that consists of all the files
$ mkdir scikit_docker && cd scikit_docker
- Create
requirements.txtfile — Contains python modules and has nothing to do with Docker inside the folder -scikit_docker.
numpy
scipy
scikit-learn
- Create a file called
app.pyinside the folder —scikit_docker
from sklearn import tree
#DataSet
#[size,weight,texture]
X = [[181, 80, 44], [177, 70, 43], [160, 60, 38], [154, 54, 37],[166, 65, 40], [190, 90, 47], [175, 64, 39], [177, 70, 40], [159, 55, 37], [171, 75, 42], [181, 85, 43]]

Y = ['apple', 'apple', 'orange', 'orange', 'apple', 'apple', 'orange', 'orange', 'orange', 'apple', 'apple']

#classifier - DecisionTreeClassifier
clf_tree = tree.DecisionTreeClassifier();
clf_tree = clf_tree.fit(X,Y);

#test_data
test_data = [[190,70,42],[172,64,39],[182,80,42]];

#prediction
prediction_tree = clf_tree.predict(test_data);

# Write output to a file
with open("output.txt", 'w') as fh_out:
        fh_out.write("Prediction of DecisionTreeClassifier:")
        fh_out.write(str(prediction_tree))
- Create a Dockerfile that contains all the instructions for building a Docker image inside the project directory
# Use an official Python runtime as a parent image
FROM python:3.6-slim
MAINTAINER Upendra Devisetty <upendra@cyverse.org>
LABEL Description "This Dockerfile is used to build a scikit-learn’s decision tree image"

# Set the working directory to /app
WORKDIR /app

# Copy the current directory contents into the container at /app
ADD . /app

# Install any needed packages specified in requirements.txt
RUN pip install -r requirements.txt

# Define environment variable
ENV NAME World

# Run app.py when the container launches
CMD ["python", "app.py"]
- Create a Docker compose YAML file
version: '2'
services:
    datasci:
        build: .
        volumes:
            - .:/app
- Now Build and Run the Docker image using docker-compose up command to predict the fruit given a new set of fruit metrics
$ docker-compose up
Use docker-compose rm to remove the container after docker-compose finish running
docker-compose rm
Going to remove scikitdocker_datasci_1
Are you sure? [yN] y
Removing scikitdocker_datasci_1 ... done
You will find the ouput file in the scikit_docker folder with the following contents
4. jupyter-repo2docker
jupyter-repo2docker is a tool to build, run, and push Docker images from source code repositories that run via a Jupyter server.
repo2docker fetches a repository (from GitHub, GitLab or other locations) and builds a container image based on the configuration files found in the repository. It can be used to explore a repository locally by building and executing the constructed image of the repository, or as a means of building images that are pushed to a Docker registry
In order to run jupyter-repo2docker, you first need to install it locally onto your computer
pip install jupyter-repo2docker
Usage
The core feature of jupyter-repo2docker is to fetch a git repository (from GitHub or locally), build a container image based on the specifications found in the repository & optionally launch the container that you can use to explore the repository.
Note
Docker needs to be running on your machine for this to work.
Let’s take a simple example:
jupyter-repo2docker https://github.com/norvig/pytudes
After building (it might take a while!), it should output in your terminal something like:
    Copy/paste this URL into your browser when you connect for the first time,
to login with a token:
    http://0.0.0.0:36511/?token=f94f8fabb92e22f5bfab116c382b4707fc2cade56ad1ace0
Intermediate example:
Important
repo2docker looks for configuration files in the repository being built to determine how to build it. In general, repo2docker uses the same configuration files as other software installation tools, rather than creating new custom configuration files. Here is a list of supported configuration files (roughly in the order of build priority). For this example, I have already created requirements.txt file.
jupyter-repo2docker https://github.com/upendrak/keras_wine
After building (it might take a while for the first time), it should output in your terminal something like this.
Or copy and paste one of these URLs:
http://127.0.0.1:55869/?token=103a016fd2e6b04ce7108ce19d078ecef74475dfacce7bd3
If you copy paste that URL into your browser you will see a Jupyter Notebook with the contents of the repository you had just built!
For more information on how to use repo2docker, see the usage guide.
5. Binder
Binder allows you to create custom computing environments that can be shared and used by many remote users. It is powered by BinderHub, which is an open-source tool that deploys the Binder service in the cloud. One-such deployment lives here, at mybinder.org, and is free to use. For more information about the mybinder.org deployment and the team that runs it, see About mybinder.org.
Note
Binder is a research pilot, whose main goal is to understand usage patterns and workloads for future evolution and development. It is not a service that can be relied on for critical operations.
Continuing the keras_wine github example, let’s create a Binder button to make it easy for the users to launch the notebooks interactively from the README in the github repo of keras_wine.
[](https://mybinder.org/v2/gh/upendrak/keras_wine/master)
Clicking the button will make the jupyer notebook interactive.